
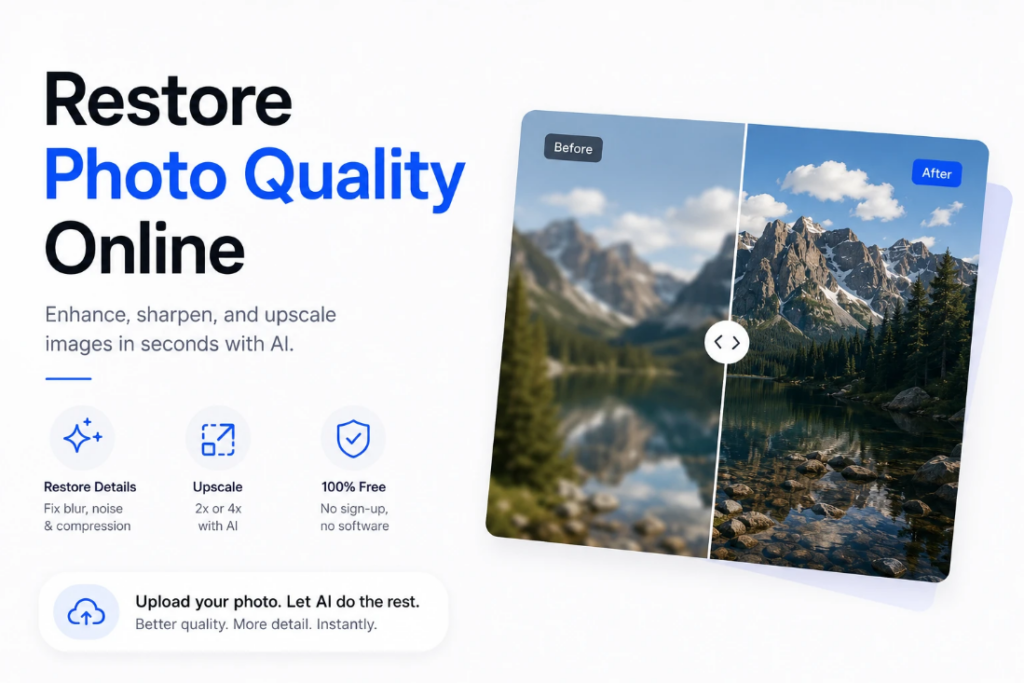
Restoring photo quality used to mean expensive software, technical skills, or paying a professional editor. Today, AI has made it possible to restore photo quality online for free, without installing anything, and with results that rival professional editing. Whether you’re dealing with a blurry shot, a low-resolution image, an old scanned print, or a photo degraded by social media compression — the process takes seconds and requires no experience.
What ‘Restoring Photo Quality’ Actually Means
Photo quality restoration covers several different types of improvement depending on what’s wrong with the image:
| Quality Problem | What Causes It | What Restoration Does |
| Blur / softness | Missed focus, camera shake, motion | Reconstructs sharp edges and fine detail |
| Grain / noise | High ISO, low light, old sensors | Removes noise while preserving real texture |
| Low resolution | Small file, old camera, heavy cropping | Upscales with AI-generated detail |
| Compression artifacts | JPEG saving, social media download | Reduces blocky areas, recovers edge detail |
| Faded detail | Old photo, poor lighting, aging | Reconstructs missing detail from context |
| Flat colors | Overexposure, age, scanner limitations | Improves color depth and natural vibrancy |
Why Software Isn’t Necessary Anymore
Professional photo restoration software — Photoshop, Lightroom, dedicated restoration tools — gives experienced editors precise control over every adjustment. But it comes with real barriers: cost, installation, compatibility requirements, and a significant learning curve. Getting good results from manual restoration takes not just the right software but months of practice.
Browser-based AI tools remove all of these barriers. The AI model has already done the work of learning what high-quality images should look like — when you upload a degraded photo, it applies the appropriate restoration automatically. No sliders to adjust, no techniques to learn, no software to install.
Step-by-Step: Restore Photo Quality Without Software
Step 1: Go to Phototune.ai and open the AI image enhancer in your browser. No account, no download — works on any device including mobile.
Step 2: Upload your photo. Drag and drop or click to browse. JPG, PNG, WEBP, and AVIF formats are supported up to 10MB. For scanned prints, use the highest DPI scan available.
Step 3: Choose the enhancement mode that matches your photo’s problem. For general quality issues, Enhance mode works well. For blurry images, Unblur. For portraits, Portrait mode. For old or degraded prints, Old Photo mode. For screenshots or document images, Text Enhance.
Step 4: Select an upscale level if the image is too small for your intended use — 2x for moderate size increases, 4x for significant enlargement.
Step 5: The AI processes the image in seconds. Use the before/after preview to compare the original and restored versions. Download at full resolution when satisfied.
Choosing the Right Enhancement Mode
| Your Photo Problem | Best Mode | What to Expect |
| Generally soft or lacking clarity | Enhance | Sharper edges, better defined textures, improved overall detail |
| Out of focus or motion blurred | Unblur | Reconstructed sharpness, reduced blur artifacts |
| Portrait with soft face detail | Portrait | Natural skin texture, sharper eyes and hair |
| Old scanned print with grain and fading | Old Photo | Reduced grain, restored detail, improved color depth |
| Screenshot with blurry text | Text Enhance | Sharper, more readable letter shapes |
| Image too small for intended use | Upscale (4x) | Larger image with AI-generated detail |
What Results to Realistically Expect
AI restoration produces excellent results in most situations, but the quality of the output depends on the quality of the input. A few guidelines help set accurate expectations:
- Images with some detail to recover — partially blurry, compressed, or slightly degraded — see the best results. The AI has more to work with.
- Very small images (under 400px) upscale well but may still show limitations — the AI generates plausible detail but can’t reconstruct what was never captured.
- Severely motion-blurred images from very fast movement have limits — mild to moderate blur responds well, but extreme cases can’t be fully reversed.
- Old scanned prints with physical damage (tears, water stains) see improvement in sharpness and grain but physical damage may remain partially visible.
- The before/after comparison at full zoom is the most reliable way to evaluate the result — at reduced zoom differences are harder to assess.
Scanning Tips for Old Prints
If you’re starting from a physical photo, the scan quality directly affects the restoration result. A few practices make a significant difference:
- Scan at minimum 600 DPI for standard prints — 1200 DPI gives the AI considerably more detail to work with
- Clean the scanner glass before scanning to avoid picking up dust or smudges
- Save as PNG rather than low-quality JPG to avoid adding compression artifacts before restoration
- For very old or damaged prints, scan in sections if the scanner resolution allows, then crop
Phototune.ai is a practical online image quality improver that covers the most common photo restoration needs in one place. Upload your photo, select the mode that fits your problem, and download a sharper, cleaner version in seconds — no account, no software, no cost.
